
More on FLATTING
Details and where to get an automatic flatting program

Here is a more detailed look at comic color flatting, as some people still have questions about the process. This should answer everything.
Before I figured out how to flat comic art, my tedious color process took hours per page longer than standard coloring. I wasn’t so savvy on Photoshop tricks either, especially making selections, and the below video will be a big help for those of you trying to learn the same skills.
Flatting helps make this selection process easier, because if you can just use the selection tool to grab a color, you don’t have to do all the work of carefully tracing around an area by hand to color it.
A lot of people outsource to professional flatters, and there are plenty of pros who work for less than $10 a page. A bargain when you consider a good flatter can save you 1-2 hours a page in making your own careful selections. If you do a little digging online, you’ll have no trouble finding one at a good price. However, I find the flatting colors confusing, as they can set me off my game when making my own choices.
The purpose of a flatter isn’t to make your color choices for you: flatting is a technical aid. You will not use the flatter’s color choices in your final work.
There are also flatter programs you can get that do the job, only not quite as well because the program has an even worse sense of color nuance, and it won’t be able to handle broken line inking. I expect a lot of pro flatters actually use the digital programs to do the basic flatting to save time, then they tweak as needed.
Unless I am under the gun on a deadline, I just use the Peltmade program.
At Peltmade, older versions of the flatter program are FREE, but the purchase price for the new version is well worth it because it will pay for itself in a day or two in the time saved making selections.
Here’s a quick look at the process using Multifill, a program I bought from Peltmade.
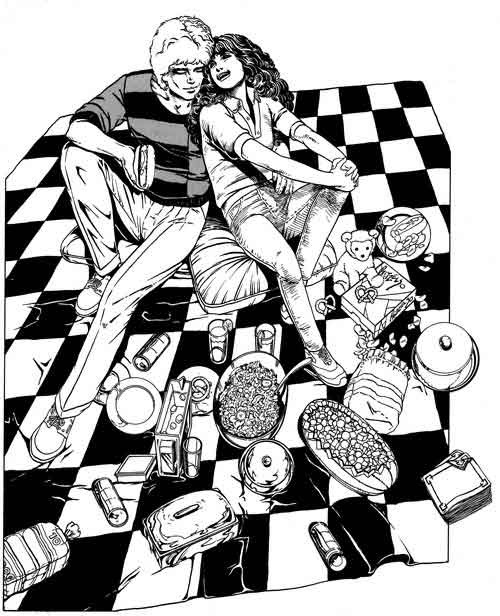
A page from A DISTANT SOIL in the original black and white.
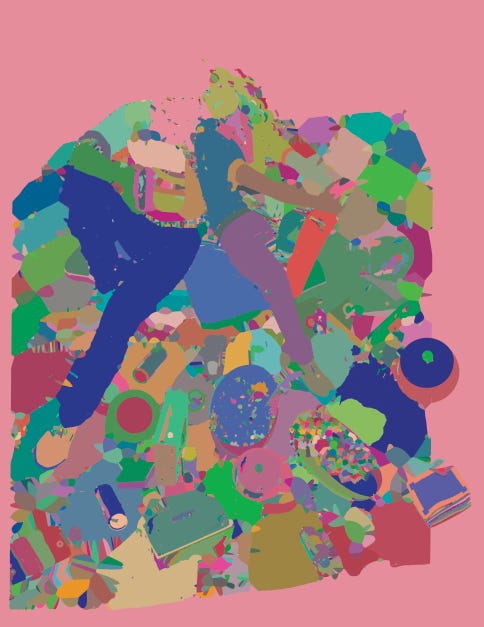
Using Multifill in Photoshop CS5, I hit the button and it automatically fills the areas with flat color. It’s pretty hideous.
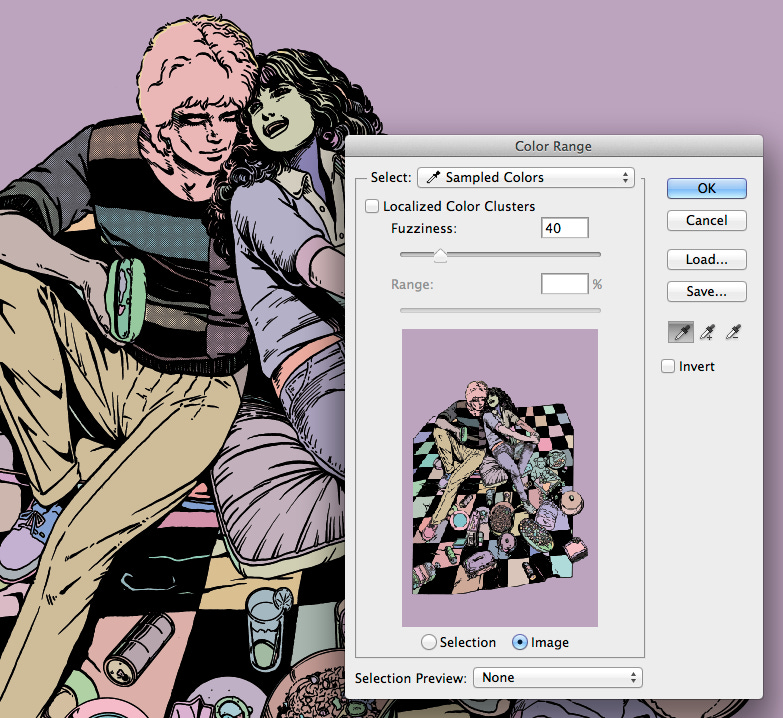
I’ve used a yellow color around Jason’s head to isolate the area for flatting because all the in line work there is broken. You can barely see it in this shot, but remember, on the computer you can zoom in and zoom out any time you like.
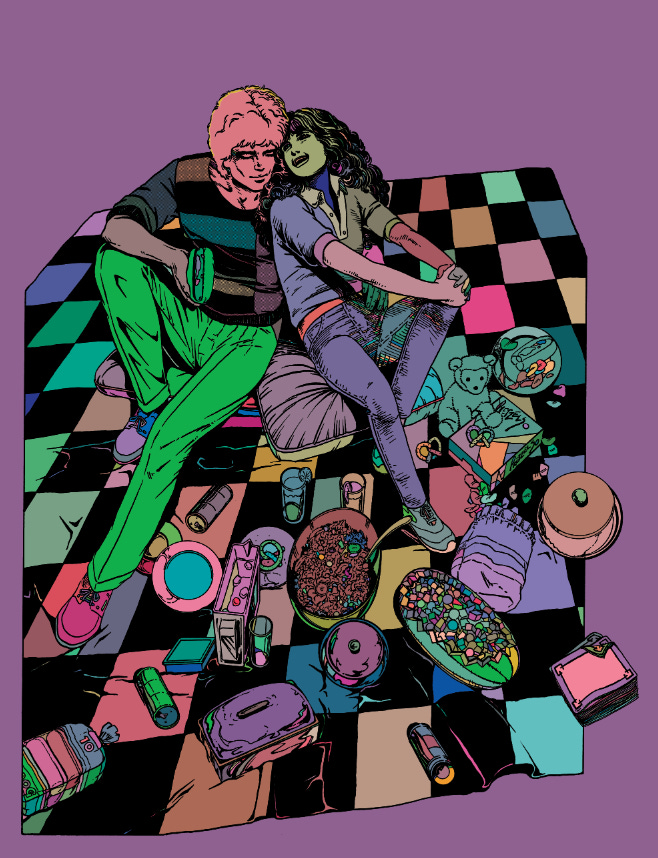
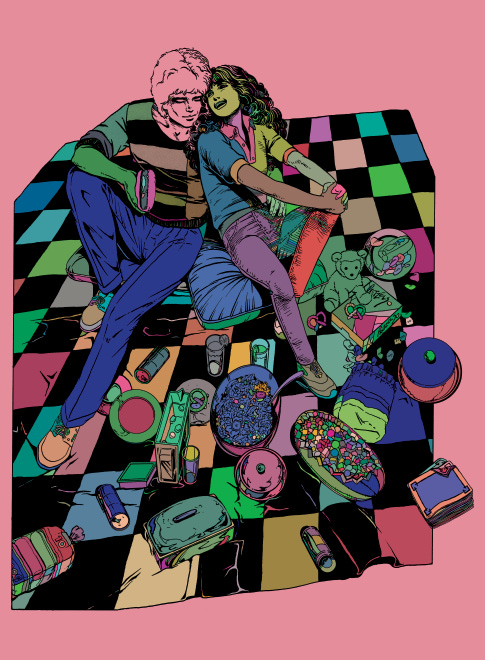
This ugly color is incredibly distracting, so using the adjustments tool, I lighten it to this pastel.
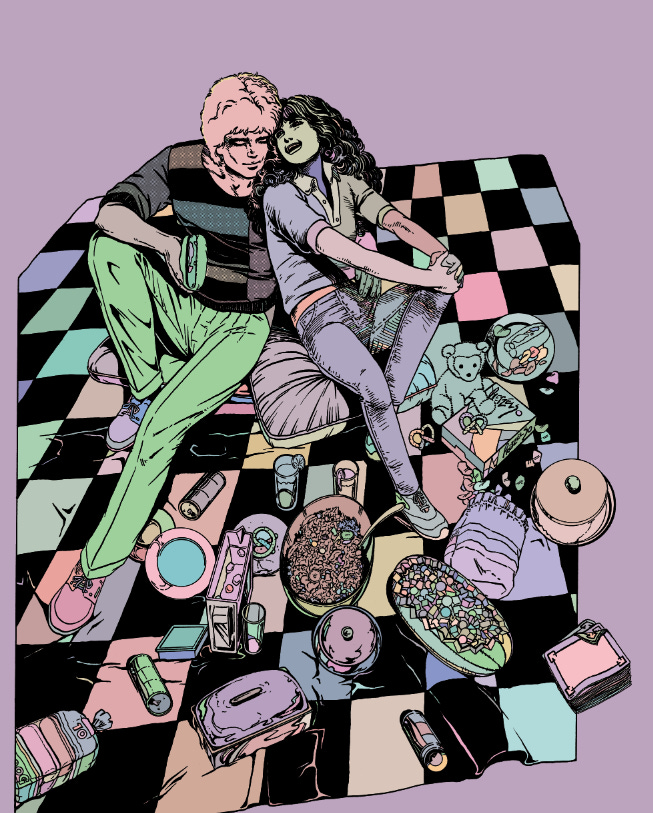
Still ugly, but it doesn’t make me run screaming from the computer.
Now I start selecting areas to color. It’s so easy using the color range picker tool. I just use the paint bucket to change the color of that selection.
The computer only sees things as ON OFF or THIS COLOR OR THAT COLOR. So by using the color picker took, ONLY the flat color in those pants gets picked, making it easy to change that color or paint within the lines.
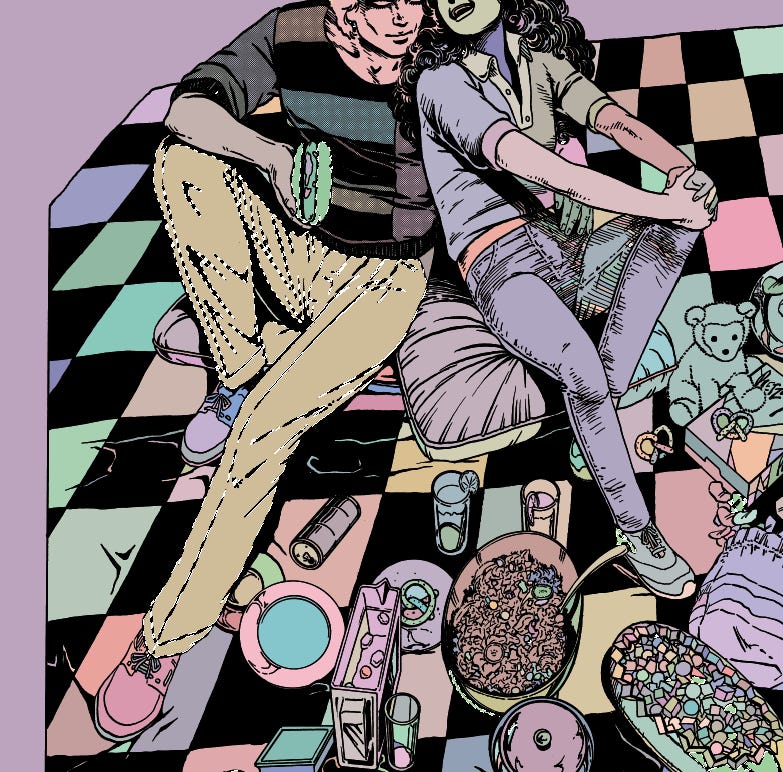
After about 15 minutes of making selections and using the paint bucket tool, I’ve made major changes in the image. It might take all of a half hour to make the final color changes I want. In the end, this cuts my work time by at least 1.5 hours per page.
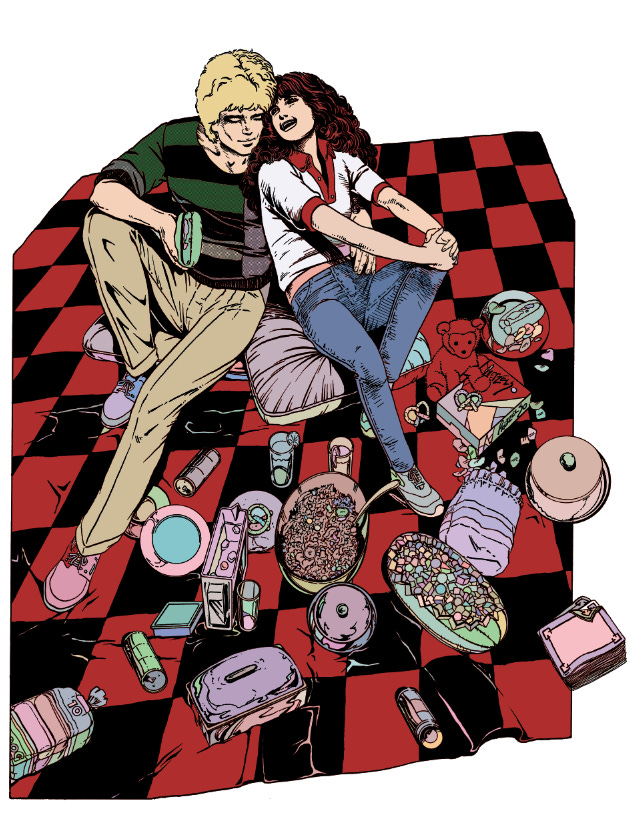
Even though I don’t care for this flat color, I can easily make this the basis for my final colors using the selection tool to isolate areas that I go over later with a more painterly effect to get the look I want. For my part, I pick out the areas I’ve colored as I go and replace the whole area with white so that flat color doesn’t show through my painterly brush effects.
Remember to isolate your colors on a layer separate from your BW line art!
Don’t get excited, I’m not doing a color version of ADS yet. It would be helluva expensive, and an additional challenge would be hiring Allan Harvey, my assistant, to go in and remove all the screen tone. You can see what a mess they make there on Jason’s shirt!
Anyway, I still have a lot to learn about color, but the Peltmade plug in is a good substitute for a professional flatter if you’re looking to save a few bucks.
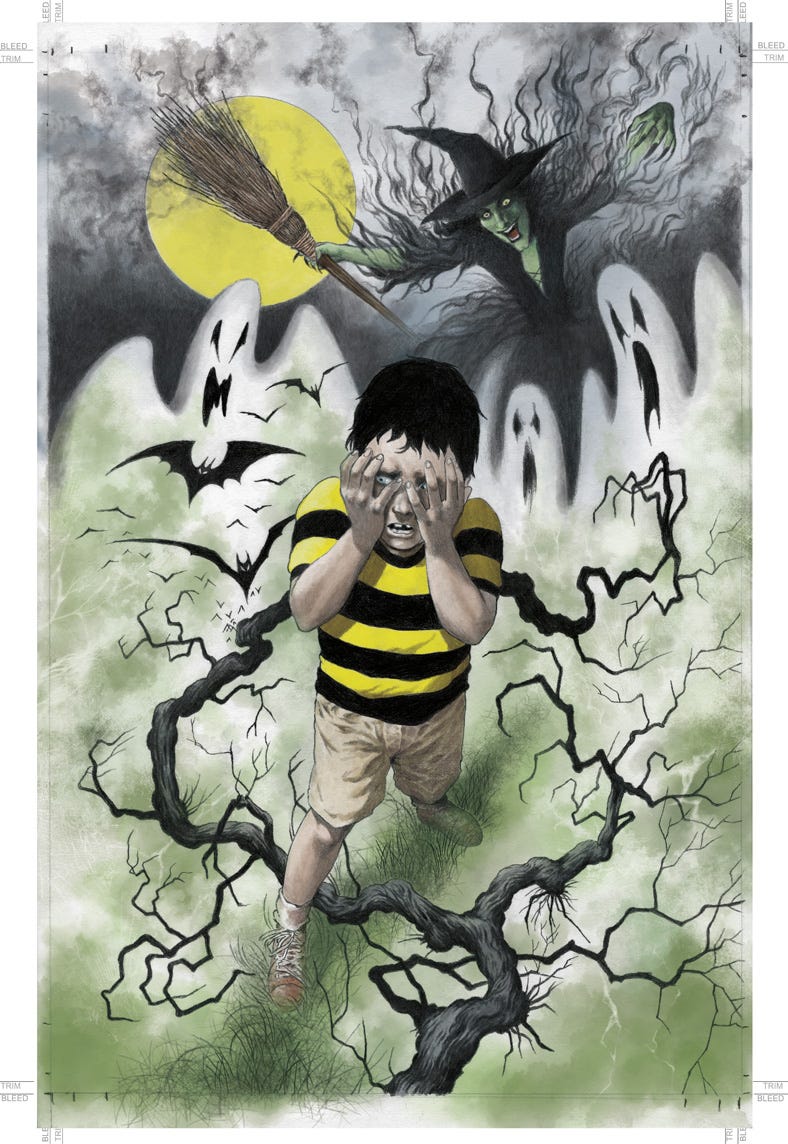
This tool is only good for clean line art: it is useless for projects like TROLL BRIDGE, which was colored over pencil. And it took a freakishly long time.
Anyway, I’d love to do ADS in color someday, so everyone hope I win the lottery.
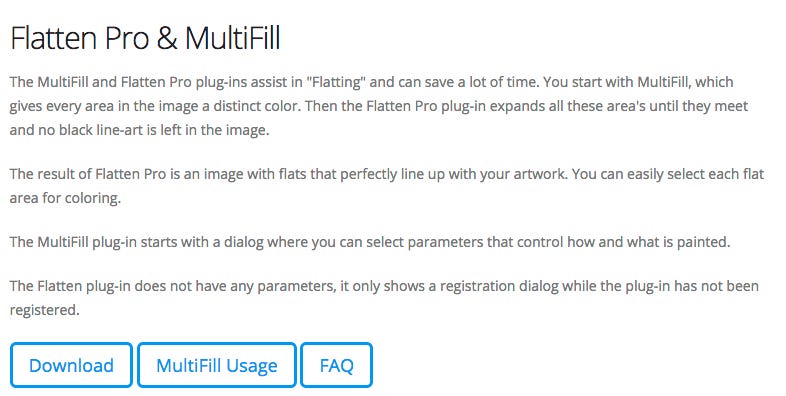
IMPORTANT SAFETY TIP: Use MULTIFILL to set the colors. Then use FLATTEN PRO to expand the colors to make sure the line work is expanded into every nook and cranny. My assistant Allan was good enough to point this out.
Here is what the page looks like after using FLATTEN PRO with the line work hidden.
And with the lines on top.
It’s important to use Flatten Pro after you use Multifill, because plates can slip during printing and you may end up with a little ghost image around your colors if you don’t.
The "ugly color" version would be good if you ever decide to make a blacklight poster haha.
Interesting! 🙏🏼